
10 Amazing Drills EVERY Golfer Must Know
10 Best Golf Practice Drills: Time-Tested Methods That Work
After 30+ years of golf instruction and working with thousands of students, I've identified the practice drills that deliver the biggest improvements for the least cost. While modern technology like TrackMan is valuable, these simple, time-tested drills have helped more golfers improve than any expensive gadget.
These drills address the three fundamentals every golfer needs: correct setup, proper swing path, and square clubface control. Master these basics, and you'll become a significantly better player regardless of your current skill level.
Why These Drills Work
The Three Fundamentals
Every good golfer does these three things consistently:
- Sets up correctly to the ball
- Swings on the correct path
- Returns the clubface square at impact
The beauty of these drills: They're inexpensive, can be done anywhere, and directly address swing flaws that plague most golfers.
Drill #1: The Cardboard Box Drill (Path and Contact)
What You Need
- Large cardboard box
- Towel
- Golf balls and tees
Setup
- Place box just outside ball position (1/8 inch from toe of club)
- Position towel on inside to prevent cheating
- Tee ball up for easier contact initially
What It Fixes
- Outside-in swing path (the #1 cause of slices)
- Heel contact problems
- Shanking with wedges
- Path consistency with all clubs
Why It Works
Forces you to swing the club between the towel and box, creating:
- Proper inside-to-inside swing path
- Center contact on clubface
- Consistent swing plane
Personal Experience
"I hit 200 drivers a day off this box in the late '80s and early '90s. It made me one of the straightest drivers on tour with 105 mph clubhead speed. Nobody could hit it straighter."
Practice Protocol
- Start with wedges, progress through irons to driver
- Focus on missing the box while making solid contact
- Use for alignment reference (feet, hips, shoulders parallel)
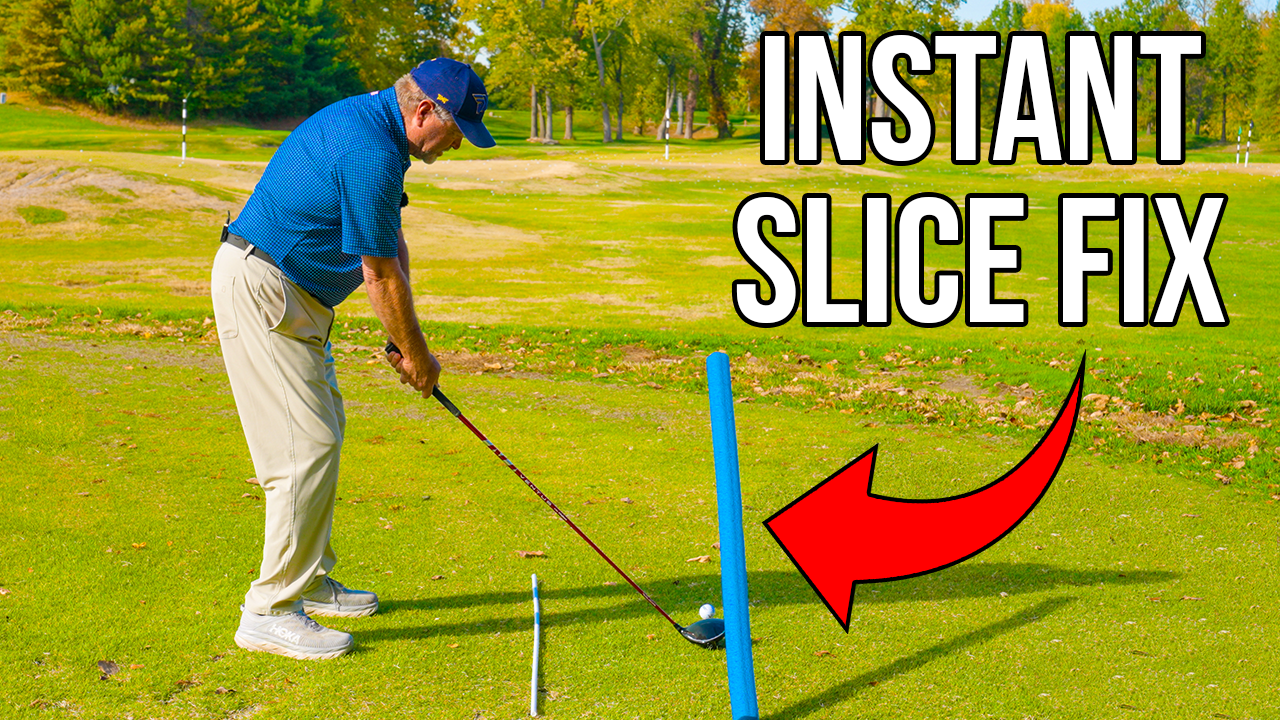
Drill #2: The Inclined Stick Drill (Anti-Steep)
What You Need
- Alignment stick or pool noodle
- Something to prop stick at angle
Setup
- Position stick parallel to target line at 45-degree angle
- Ball positioned under tip of stick
- Stick should be 2-3 feet in front of ball
What It Fixes
- Over-the-top swing (outside-in path)
- Steep angle of attack that causes thin/fat shots
- Poor sequencing in downswing
Key Points
- Must align feet, hips, shoulders parallel to target line
- Club must swing under the stick
- Works with all clubs from driver to wedges
Caution
Be careful with drivers—hitting the shaft can break your club. Most players only hit the clubhead, which is safe.
Drill #3: The Station Setup (Alignment and Ball Position)
What You Need
- Two alignment sticks or golf clubs
Setup
- One stick parallel to feet pointing at ball
- Second stick parallel on far side of ball
- Creates "railway track" alignment system
What It Teaches
- Consistent ball position for each club
- Proper alignment for straight shots
- Setup repeatability like tour players use
Ball Position Guidelines
- Driver: Forward in stance (off front foot)
- 7-iron: Just forward of center
- Wedges: Center or slightly back
Experimentation Protocol
For better players (12 handicap or lower):
- If you fade, try ball more forward
- If you hook, try ball more back
- Find your optimal position through testing
Drill #4: The Stick Behind Ball (Contact and Release)
What You Need
- One alignment stick
Setup
- Place stick 4-5 inches behind ball
- Stick should be parallel to target line
- Can adjust distance based on skill level
What It Fixes
- Early release (flipping hands)
- Fat shots from bottoming out behind ball
- Inconsistent contact point
- Poor angle of attack
How It Works
- Forces you to hit ball first, ground second
- Prevents club from hitting stick behind ball
- Teaches proper swing bottom location
Progression
- Beginners: Start with stick 5-6 inches back
- Advanced: Move to 2-3 inches back
- Use with chips, pitches, and full swings
Drill #5: Baseball Swing Drill (Hand and Arm Action)
What You Need
- Any golf club
Setup
- Hold club parallel to ground
- Keep club parallel throughout swing
- Turn body to move club in circle
What It Teaches
- Proper hand hinge (up and down, not side to side)
- Correct arm folding in backswing and follow-through
- Body rotation vs. arm manipulation
- Swing plane awareness
Key Positions
Backswing: Trail elbow folds, lead arm straight, 90-degree angle Follow-through: Lead elbow folds, trail arm extends, maintains plane
When to Use
- Warm-up before every practice session
- On first tee if struggling with path
- After hitting several poor shots in a row
Drill #6: The Glove Under Arm (Anti-Chicken Wing)
What You Need
- Golf glove
Setup
- Place glove under lead arm (left arm for righties)
- Take normal swing without dropping glove
What It Fixes
- Chicken wing follow-through
- Slice problems from poor arm rotation
- Loss of power from disconnected arms
Alternative Method
- Hold club in lead hand only
- Place trail hand on lead tricep
- Feel connection throughout swing
Drill #7: One-Arm Anti-Slice Drill
What You Need
- Golf club
Setup
- Hold club in trail hand (right hand for righties)
- Extend lead arm straight out in front
- Make one-arm swings under extended arm
What It Fixes
- Over-the-top move that causes slices
- Early shoulder rotation in downswing
- Poor sequencing (shoulders before hips)
Mental Image
- Pretend you have two lead arms
- One holds club, imaginary one stays extended
- Swing under the extended arm
Drill #8: Stance Adjustment for Ball Flight
What You Need
- Alignment sticks for reference
For Drawing the Ball (Right-to-Left)
- Closed stance: Aim feet/body right of target
- Takeaway: Still on target line, not foot line
- Effect: Restricts hip turn, promotes arm rotation
For Fading the Ball (Left-to-Right)
- Open stance: Aim feet/body left of target
- Takeaway: Still on target line, not foot line
- Effect: Allows full hip turn, prevents arm rotation
Practice Protocol
- Start with exaggerated stance
- Gradually work toward neutral
- Practice both directions for versatility
Drill #9: Tee in Front of Ball (Angle of Attack)
What You Need
- Golf tees
For Irons (Negative Attack Angle)
- Place tee 3 inches in front of ball
- Goal: Hit ball, then clip tee
- Creates -3 degree attack angle
For Wedges (Steeper Attack Angle)
- Place tee 7-10 inches in front of ball
- Promotes -8 to -10 degree attack angle
- Better compression and spin
Benefits
- Visual feedback on swing bottom
- Improved ball-first contact
- Better distance control
- More consistent divots
Drill #10: Box in Front for Driver (Positive Attack Angle)
What You Need
- Small box (sleeve of golf balls)
Setup
- Place box 1-2 clubhead lengths in front of teed ball
- Goal: Hit ball, swing over box without contact
What It Creates
- +4 to +6 degree attack angle
- Increased distance (up to 30 yards)
- Less backspin for more roll
- Higher launch for optimal trajectory
Who Benefits Most
- Slower swing speeds (under 100 mph)
- Players hitting down on driver (-2 to -5 degrees)
- Golfers wanting more distance
Note: High swing speed players (105+ mph) often prefer slight downward strike for control.
Bonus Drill: Towel Path Correction
What You Need
- Two towels
For Outside-In Path (Slicers)
- Place one towel inside ball position
- Place second towel left of ball
- Swing between towels to hit ball
For Inside-Out Path (Hookers)
- Reverse towel positions
- Place towels to guide club on better path
Results
- Immediate path improvement (often cut mistakes in half)
- Versatile for any path problem
- Visual feedback for swing direction
Advanced Drill: Parallel Positions Training
What You Need
- Two alignment sticks
- Understanding of swing plane
Setup
- One stick along toe line
- Second stick along heel line
- Both parallel to target line
Key Positions
Backswing: Club parallel to ground and target line (over toe line) Follow-through: Club parallel to ground and target line (over heel line)
Clubface Control
- Face should match spine angle at both positions
- Not "toe up" (that's actually open)
- Maintains square relationship throughout
Orange Whip Variation
- Start in follow-through position
- Swing back to backswing position
- Return to follow-through
- Weighted club teaches proper feel
Creating Your Practice Routine
Session Structure (1 Hour)
- 10 minutes: Setup and alignment (Drill #3)
- 15 minutes: Path work (Drills #1, #2, or #10)
- 15 minutes: Contact improvement (Drill #4, #9)
- 10 minutes: Specific ball flight work (Drill #8)
- 10 minutes: Integration with full swings
Daily Options
Short on time (15 minutes):
- Pick one drill based on biggest weakness
- Focus on quality over quantity
Home practice:
- Baseball swings (Drill #5)
- Parallel positions (Advanced drill)
- One-arm work (Drill #7)
Course Application
Pre-round warm-up:
- Baseball swings for tempo
- Setup station for alignment
- Few swings with primary path drill
Mid-round adjustments:
- Baseball swings between holes
- Mental recall of drill feelings
- Setup checkpoints on tee
Equipment Investment
Total Cost: Under $50
- Cardboard box: Free
- Alignment sticks: $25 (or $5 at Home Depot)
- Towels: Use old ones
- Golf tees: Already in your bag
Optional Upgrades
- Orange Whip: $100+ (excellent for tempo and path)
- Alignment mirror: For setup verification
- Impact tape: For contact feedback
Common Mistakes When Practicing
Drill Execution Errors
- Poor alignment during setup drills
- Rushing through movements
- Not understanding what each drill teaches
- Inconsistent practice schedule
Focus Problems
- Trying to fix everything at once
- Changing drills too frequently
- Ignoring fundamentals for advanced techniques
- Practice without purpose
Solutions
- Master one drill before adding another
- Understand the why behind each movement
- Track improvement with specific metrics
- Consistent daily practice beats occasional long sessions
Measuring Progress
Objective Metrics
- Ball flight consistency (same curve pattern)
- Contact quality (center strikes vs. toe/heel)
- Distance control (consistent yardages)
- Setup repeatability (same positions)
Subjective Feel
- Confidence at address
- Natural swing rhythm
- Effortless power
- Predictable ball flight
Timeline Expectations
- Week 1-2: Learning drill mechanics
- Week 3-4: Seeing swing changes
- Month 2: Improved ball striking
- Month 3+: Lower scores and consistency
Troubleshooting Common Issues
"I'm Not Seeing Improvement"
- Check alignment during drills
- Slow down drill execution
- Video yourself to verify positions
- Get professional feedback on technique
"Drills Feel Awkward"
- Start with slow motion swings
- Exaggerate the feeling initially
- Trust the process - awkward often means changing
- Focus on one element at a time
"Can't Do Drills at Home"
- Use alignment sticks indoors
- Practice setup positions in mirror
- Baseball swings with shortened club
- Mental rehearsal of drill feelings
Key Takeaways
- Simple drills work best - complexity doesn't equal effectiveness
- Consistency beats intensity - daily practice trumps weekly marathons
- Address fundamentals first - setup, path, and face control
- One drill at a time - master before moving on
- Quality over quantity - 20 perfect swings beat 100 sloppy ones
- Home practice counts - many drills work indoors
- Track your progress - measure what you're trying to improve
- Trust the process - improvement takes time
- Understand the why - know what each drill teaches
- Apply to course - practice with purpose for game improvement
Final Thoughts: Simplicity Works
In an age of high-tech training aids and complex swing theories, these simple drills have stood the test of time because they work. They address the fundamental movements that separate good players from struggling ones.
The cardboard box and inclined stick drills alone have helped 95% of my students improve their ball striking. Combined with proper setup work and contact drills, you have everything needed to develop a consistent, effective golf swing.
Remember: you don't need expensive equipment or complex theories. You need to practice the right things consistently. These drills give you exactly that—proven methods that deliver results.
Start with the drill that addresses your biggest weakness, practice it consistently, and watch your ball striking transform.