
The BEST Way To Improve Your Golf Swing on a Simulator
The Only 5 Golf Simulator Numbers That Actually Matter (Ignore Everything Else)
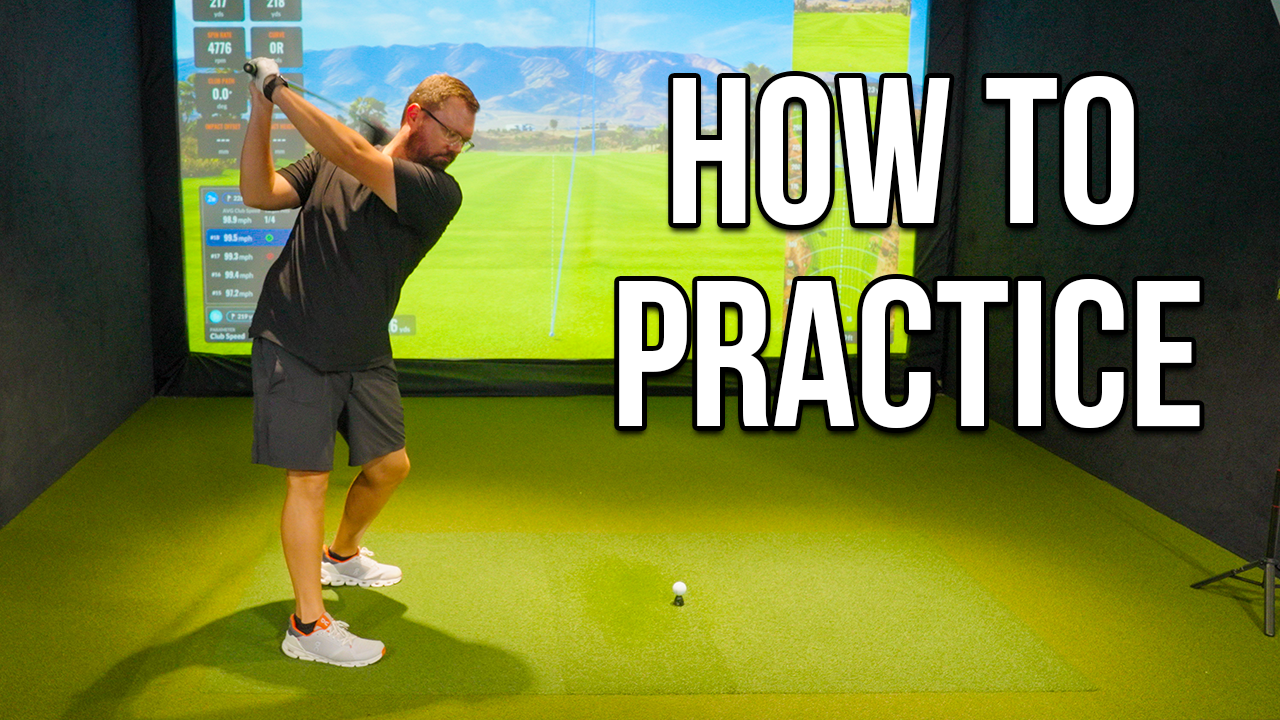
Golf simulators and launch monitors have revolutionized how we practice and understand our swings. But here's the problem: these systems track dozens of data points, and most golfers get overwhelmed trying to analyze everything at once.
After 35+ years of teaching and countless hours working with TrackMan, I've identified the five essential data points that will actually improve your game. Everything else is just noise that distracts from what really matters.
The Data Overload Problem
Modern launch monitors like TrackMan, Foresight, and Mevo+ can track seemingly endless parameters:
- Club head speed
- Smash factor
- Launch angle
- Spin rate
- Dynamic loft
- Club path
- Face angle
- Attack angle
- Carry distance
- Total distance
- And many more...
The reality? Focusing on too many numbers at once paralyzes improvement rather than accelerating it.
The 5 Numbers That Transform Your Game
Out of all the available data, I only show my students these five critical measurements:
1. Carry Distance
2. Angle of Attack
3. Club Path
4. Face Angle
5. Face to Path
These five numbers tell you everything you need to know about your ball striking and ball flight. Master these, and everything else falls into place.
#1: Carry Distance - Your Course Management Foundation
What it measures: How far the ball flies before touching the ground (not total distance with roll)
Why it matters: This is the only distance that matters for course management
The Reality Check
Most golfers dramatically overestimate their carry distances:
- What you think: "My 7-iron goes 150 yards"
- What it actually carries: 135-140 yards maximum
Course Management Impact
Understanding true carry distances prevents disasters:
- Front pin at 140 yards with water short? Don't hit that 7-iron if you only carry 135
- Firm greens? Carry everything 15 yards short and let it bounce
- Soft conditions? You can carry it right to the flag
Practice Recommendation
Twice per year minimum: Test every club in your bag for carry distance. This single practice session will improve your course management more than any swing tip.
#2: Angle of Attack - The Foundation of Solid Contact
What it measures: Whether the clubhead is moving up (+) or down (-) at impact
Why it matters: Determines contact quality and distance control
Understanding the Numbers
Negative Attack Angle (-): Clubhead moving downward
- Chipping/Pitching: -1 to -3 degrees (ideal)
- Short irons (7-PW): -3 to -5 degrees
- Mid irons (5-6): -2 to -4 degrees
Positive Attack Angle (+): Clubhead moving upward
- Driver: +1 to +5 degrees (often beneficial)
- Short irons: Disaster - creates fat/thin contact
The Shaft Lean Connection
Attack angle directly reflects your shaft lean at impact:
- Forward shaft lean = Negative attack angle
- Shaft behind ball = Positive attack angle
- Vertical shaft = Zero attack angle
Key Insight
You don't "hit down" on the ball - you create negative attack angle through proper shaft lean at impact. This happens naturally with good technique, not through conscious manipulation.
#3: Club Path - Your Ball Flight Director
What it measures: The direction the clubhead travels through impact (left or right of target)
Why it matters: Primary determinant of your natural ball flight pattern
The Numbers That Matter
For Right-Handed Golfers:
- -3 to +3 degrees: Acceptable range for consistent ball striking
- Negative numbers (-): Path swings left of target (produces fades/slices)
- Positive numbers (+): Path swings right of target (produces draws/hooks)
Path Patterns and Ball Flight
Consistent -2 to -3: Natural fade player
- Predictable left-to-right ball flight
- Easy to manage on course
- Reliable pattern for scoring
Consistent +2 to +3: Natural draw player
- Right-to-left ball flight
- Often more distance due to roll
- Requires different course management
When Path Goes Wrong
Double-digit path numbers (-10+ or +10+) create major problems:
- Severe slices from extreme negative path
- Big hooks from extreme positive path
- Massive distance loss from poor energy transfer
- Inconsistent contact from varying swing plane
#4: Face Angle - Where Your Ball Starts
What it measures: Clubface direction at impact relative to target line
Why it matters: Determines initial ball direction (where it starts)
Face Angle Fundamentals
Open Face (+): Points right of target
- Ball starts right
- Often combined with slice spin
Closed Face (-): Points left of target
- Ball starts left
- Can create hook spin
Square Face (0): Points at target
- Ball starts on target line
- Ideal for straight shots
Common Face Problems
Grip Issues Create Face Problems:
- Weak grip: Often produces open face at impact
- Strong grip: Can lead to closed face
- Grip in palms: Usually creates open face
- Grip in fingers: Better for square face control
#5: Face to Path - The Master Number
What it measures: Relationship between face angle and club path
Why it matters: Determines final ball flight and curve
The Magic Formula
Face to Path = Face Angle - Club Path
Target Numbers for Ball Flight
Straight Shots: 0 degrees face to path
- Face perfectly matches path direction
- Ball flies straight with minimal curve
Controlled Draw: -1 to -2 degrees face to path
- Face slightly closed to path
- Gentle right-to-left curve
Controlled Fade: +1 to +2 degrees face to path
- Face slightly open to path
- Gentle left-to-right curve
When Face to Path Goes Wrong
Large positive numbers (+5+): Big slice Large negative numbers (-5+): Big hook
Inconsistent numbers: Unpredictable ball flight
How to Use These Numbers for Practice
Session Structure
Warm-Up (5 shots):
- Focus only on carry distance
- Establish baseline numbers
- Don't worry about perfection
Swing Work (15-20 shots):
- Display only the specific number you're working on
- Make one change at a time
- Track improvement trends
Validation (5 shots):
- Turn on all five numbers
- Check that improvements hold up
- Identify next priority area
Problem Diagnosis Priority
1st Priority: Fix extreme club path issues (±10+ degrees) 2nd Priority: Address attack angle problems
3rd Priority: Work on face angle consistency 4th Priority: Fine-tune face to path relationship 5th Priority: Optimize carry distances
Common Mistakes to Avoid
Information Overload
Don't: Try to fix multiple numbers simultaneously Do: Focus on one parameter until it improves
Chasing Perfect Numbers
Don't: Expect zero on every measurement Do: Aim for consistency within acceptable ranges
Ignoring Patterns
Don't: Focus on individual shots
Do: Look for trends over 10-15 swings
Overcomplicating Simple Fixes
Don't: Make major swing changes for minor number variations Do: Use simple drills to gradually improve patterns
Equipment Considerations
Different Systems, Same Concepts
TrackMan: Uses the exact terminology discussed Foresight/GCQuad: May use "in-to-out" vs. "club path"
Mevo+: Simplified display but same core measurements SkyTrak: Different interface but tracks same fundamentals
Home Setup Recommendations
Minimum Effective Display:
- Carry distance (always)
- Club path
- Face angle
- Face to path
Advanced Setup:
- Add attack angle for iron work
- Include clubhead speed for power training
Course Transfer Strategies
Building Confidence
Practice Goals:
- Achieve consistent numbers within target ranges
- Develop feel for different ball flights
- Build trust in your natural pattern
Course Application:
- Play to your consistent path pattern
- Use face to path knowledge for shot shaping
- Trust your carry distance data for club selection
Managing Expectations
Remember:
- Tour players aren't perfect on every shot
- Consistency matters more than perfection
- Small improvements create big scoring gains
Key Takeaways
- Focus on only 5 numbers - ignore everything else initially
- Carry distance is your course management foundation - test it regularly
- Club path determines your natural ball flight - accept and optimize it
- Face to path controls curve - master this for shot shaping
- Attack angle reflects impact quality - especially crucial for irons
- Consistency trumps perfection - aim for repeatable patterns
- Fix path first if you have extreme numbers (±10+ degrees)
Final Thoughts: Simplicity Creates Success
The beauty of focusing on these five essential numbers is that they tell you everything you need to know about your ball striking without overwhelming you with data.
When you master these fundamentals:
- Your ball striking becomes more consistent
- Course management improves dramatically
- Practice sessions become more productive
- Lower scores follow naturally
Remember: every tour player you admire has these five numbers dialed in. They may not be perfect on every shot, but they're consistent within effective ranges. That consistency, not perfection, is what separates great players from the rest.
Use your simulator time wisely—focus on these five numbers, ignore the noise, and watch your game transform.
Ready to make your simulator practice more effective? Book a lesson with our certified instructors at Golf Sensei. We'll help you understand your personal data patterns and create a targeted improvement plan based on these five essential measurements.