
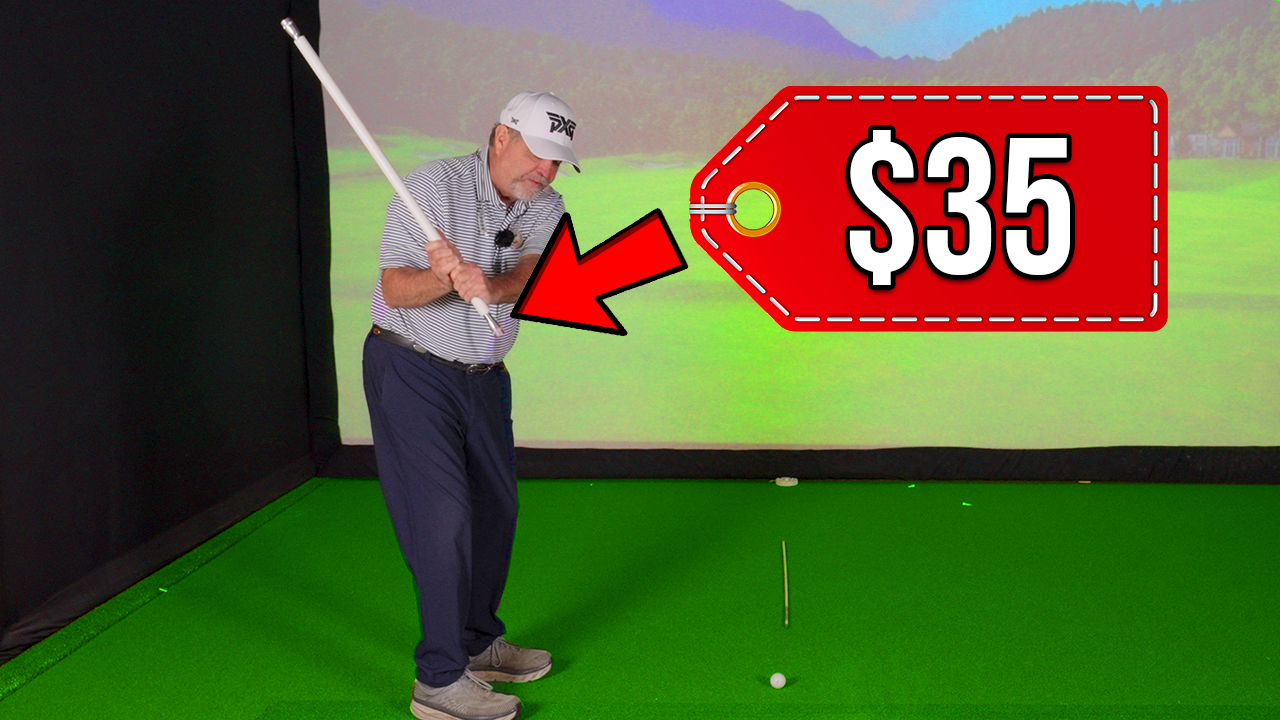
The Best Golf Training Aid Only Costs $35
Unlock a Tour-Caliber Swing at Home—for Under $35
Quick Take: With one length of PVC pipe and two mini-MAG flashlights, you can build the most versatile swing-plane trainer ever invented—perfect for golfers who want lower scores without pounding buckets of balls.
Why Golfers Love the PVC Flashlight Trainer
-
Low-impact practice: Groove a repeatable motion indoors; no joints or back strain.
-
Instant visual feedback: Twin light beams reveal club-path and face errors immediately.
-
Year-round usability: A 30-inch shaft clears 8-foot ceilings—great for winter tune-ups.
-
Budget friendly: All-in cost is usually $30–$50 at any hardware store.
Materials List (Buy Once, Practice for Life)
| Item | Specs | Approx. Cost |
|---|---|---|
| PVC pipe | ¾" Schedule 40, 30 in. long | $3 |
| Mini MAG® flashlights × 2 | Twist-to-activate (no side switch) | $24 |
| Electrical tape | Vinyl or rubber | $3–$5 |
Pro Tip: Order the flashlights direct from Maglite® if your local store is out of stock.
Step-by-Step Build Guide
-
Cut the Pipe
-
30 inches is ideal—short enough for an 8-foot ceiling, long enough to mimic club feel.
-
-
Wrap the Flashlights
-
Add electrical tape around each barrel until it fits snugly in the pipe.
-
A snug fit prevents the light from flying out and smashing the TV (ask us how we know!).
-
-
Insert & Align
-
Twist both flashlights on, then slide one into each end of the pipe.
-
Focus each beam into a tight spot for crisp, easy-to-see lines.
-
That’s it—you’ve built the best golf training aid most players have never heard of!
How the Flashlight Drill Fixes Your Swing Plane
You can only make two swing mistakes:
-
Club-path error (shaft off-plane)
-
Club-face error (face not square)
Because the PVC shaft is your “club,” the twin beams let you see path and face in real time. Follow this golden rule:
Whichever end of the shaft is closer to the target line must point at the target line throughout the swing.
The Upright Wedge vs. the Shallow Driver
| Club | Distance from Ball | Beam Angle |
|---|---|---|
| Sand Wedge | Close | Steep |
| Driver | Farther away | Shallow |
Different clubs, same principle: keep the beam on the line.
Indoor Practice Routine (10 Minutes)
-
Create a Target Line
-
Lay down painter’s tape or use a basement floor seam.
-
-
Set Up by Club
-
Stand where you’d hit a wedge; place a small tape mark.
-
Step back to driver distance; mark the second spot.
-
-
Checkpoint #1 – Takeaway
-
At one foot back, the grip-end beam should still point at your belt buckle.
-
-
Checkpoint #2 – Halfway Back
-
When your hands reach your trail hip, start your wrist hinge.
-
The head-end beam now points at the target line.
-
-
Checkpoint #3 – Top
-
With a full hinge, the beam is four to five feet behind the ball—still on the line.
-
Shoulders ~90°, hips ~45°, weight naturally on the trail side—no conscious shift.
-
-
Checkpoint #4 – Delivery
-
On the downswing, the grip-end beam returns to the line as weight re-centers.
-
-
Finish
-
Head-end beam finishes on line; 90% of weight on front foot.
-
Common Mistakes & Quick Fixes
| Symptom | Flashlight Shows | Cause | Fix |
|---|---|---|---|
| Slice / pull slice | Beam points outside target line on backswing | Too flat going back | Start steeper; keep shaft in front of chest |
| Pull left | Toe-up beam misses target line | Over-upright lie angle | Check club fitting—wedges often need to be flatter |
| Thin / fat shots | Beam “jumps” off line mid-hinge | Late wrist set | Hinge earlier (by trail hip) |
Why It’s Perfect for Retired Golfers
-
Train anywhere: Living room, garage, hotel room—great for travel days.
-
Short daily sessions: Five smooth reps every morning engrave muscle memory.
-
Safer warm-ups: Swing the stick before tee times to feel the plane without fatiguing.
-
Teaches fundamentals to grandkids: Shorten the pipe to 20 inches for junior golfers.
Advanced Insights
-
Steep-then-shallow Power Move:
Tour players like Jim Furyk and Cameron Young get steep in the backswing, then reroute shallow for a 10 % speed boost. Use the flashlights to see that reroute. -
Consistency Kings:
Straight hitters (think Fred Funk, Henrik Stenson) keep the shaft on a single plane back and through. The flashlight makes that path obvious.
Take Action
-
Build your trainer today—it costs less than most dozen-ball boxes.
-
Swing it for 5 minutes before every round.
-
Record your swing with the light beams visible; adjust until they stay on the line.
Ready to eliminate over-the-top moves and square the clubface automatically?
Join the Golf Sensei Newsletter for more senior-focused drills, gear reviews, and video lessons delivered every week.
Golf Sensei—guiding you to longer, straighter, pain-free golf well into retirement.