
How To Never Misread a Putt Again!
Plumb Bobbing: The Old-School Green Reading Method That Still Works
If you've struggled with reading greens and three-putting has become your nemesis, there's an old-school technique that can dramatically improve your putting. While modern green reading methods get all the attention, plumb bobbing remains one of the most reliable ways to determine break direction—and it costs nothing to learn.
Despite attempts by some to discredit this method, plumb bobbing works on sound physics principles and has helped golfers read greens for decades. Here's everything you need to know to master this classic technique.
What Is Plumb Bobbing?
Plumb bobbing borrows from construction and carpentry, where workers use a weighted string (a plumb line) to determine true vertical relative to gravity. In putting, we use our putter as the plumb line to read green slopes.
The principle is simple: Gravity makes your putter hang perpendicular to the horizon. When the green slopes, this vertical reference helps reveal the break direction.
Step 1: Determine Your Dominant Eye
Before you can plumb bob effectively, you must identify your dominant eye. This is crucial because you'll close one eye during the process.
The Hand Test
- Hold your hands out in front of you
- Create a small hole between your thumbs and fingers
- Look at a distant object (like a flagstick) through the hole with both eyes open
- Close your left eye - if you still see the object, you're right-eye dominant
- Close your right eye - if the object disappears, this confirms right-eye dominance
If the object disappears when you close your left eye, you're left-eye dominant.
This test determines which eye you'll keep open while plumb bobbing.
Step 2: Position Yourself Behind the Ball
For putts 8 feet or less: Stand the same distance behind the ball as the ball is from the hole
For putts longer than 8 feet: Stand 4-5 feet behind the ball (closer positioning works better for longer putts)
Key positioning tip: Get your feet and shoulders parallel to the slope you're standing on
Step 3: The Plumb Bobbing Technique
Hold the Putter Correctly
- Grip the top of the putter handle lightly
- Let it dangle freely - gravity does the work
- Don't influence the putter's position
- Keep it steady while making your read
Close Your Non-Dominant Eye
- Right-eye dominant: Close your left eye
- Left-eye dominant: Close your right eye
- Keep the open eye focused on the target area
Align the Shaft with the Ball
- Position the putter shaft so it blocks out the ball completely
- You shouldn't see the ball behind the shaft
- The shaft becomes your vertical reference line
Read the Break
- Look up from the ball toward the hole/flag
- Note where the flag appears relative to the shaft
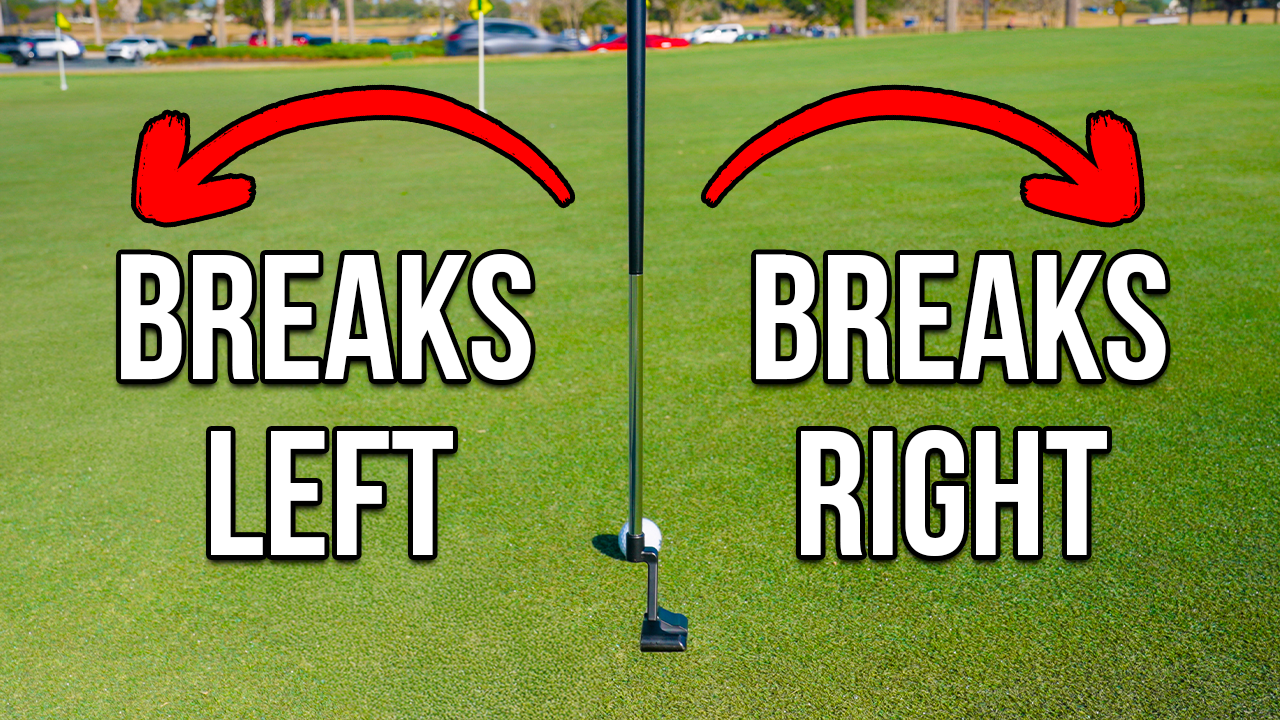
- Flag to the left of shaft: Ball will break right to left
- Flag to the right of shaft: Ball will break left to right
- Flag hidden behind shaft: Straight putt
Understanding What Plumb Bobbing Tells You
Break Direction
Plumb bobbing reliably indicates which way the putt will break, giving you the fundamental read you need for any putt.
Relative Amount of Break
While it won't give you exact measurements, plumb bobbing provides a good sense of how much break to expect:
- Flag far from shaft: Significant break
- Flag slightly off shaft: Subtle break
- Flag behind shaft: Minimal or no break
Starting Line
The plumb bob reading helps you identify where to start the ball to account for the break you've identified.
Practice Progression for Learning Plumb Bobbing
Phase 1: Learn on Obvious Slopes
- Find a pronounced slope (5-6 degree grade)
- Hit practice putts to see the actual break
- Practice plumb bobbing the same putts
- Match the visual read with the actual ball movement
- Develop feel for proper foot positioning
Phase 2: Work on Subtle Breaks
- Find gentler slopes with 1-2 feet of break
- Practice the technique on these smaller breaks
- Refine your foot positioning for accurate reads
- Build confidence in the method
Phase 3: Straight Putt Verification
- Find level areas for straight putts
- Practice plumb bobbing these putts
- Confirm the flag disappears behind the shaft
- Use this as your baseline reference
When Plumb Bobbing Works Best
Ideal Conditions
- Single-slope putts with consistent grade
- Putts under 30 feet for most accurate reads
- Well-maintained greens with predictable surfaces
- Calm conditions without strong winds affecting your stance
Optimal Putt Types
- Medium-length putts (8-25 feet) show the most benefit
- Side-hill putts where break direction is crucial
- Unfamiliar greens where you need quick, reliable reads
- Pressure situations where you need confidence in your read
Limitations to Understand
Double-Breaking Putts
The main limitation: Plumb bobbing only reads the slope where your feet are positioned
For double breakers:
- Stand closer to the hole to read the slope where the ball slows down
- Make multiple reads from different positions if needed
- Remember that putts only break significantly when ball speed slows
Speed Considerations
Fast putts won't break much regardless of slope, so:
- Consider your putting speed when interpreting the read
- Understand that break increases as the ball slows down
- Factor in green speed for accurate interpretation
Combining Plumb Bobbing with Modern Techniques
AimPoint Integration
- Use plumb bobbing for general break direction
- Add AimPoint feel for precise slope measurement
- Combine both methods for comprehensive green reading
Course Management
- Read the green during approach shots
- Note general slopes as you walk to your ball
- Use plumb bobbing to confirm or refine your initial read
Common Mistakes and Solutions
Mistake #1: Wrong Eye Dominance
Problem: Using the wrong eye gives reversed reads Solution: Always test eye dominance before important rounds
Mistake #2: Influencing the Putter
Problem: Holding the putter at an angle rather than letting gravity work Solution: Hold very lightly at the top and let it hang naturally
Mistake #3: Poor Foot Positioning
Problem: Standing on different slope than the putt line Solution: Practice feeling slopes with your feet and positioning parallel to the grade
Mistake #4: Misaligning with the Ball
Problem: Not properly blocking out the ball with the shaft Solution: Ensure the ball completely disappears behind the putter shaft
Advanced Plumb Bobbing Tips
Reading Multiple Break Points
For longer putts with potential double breaks:
- Make your primary read from behind the ball
- Walk closer to the hole (10 feet away)
- Make a secondary read for the final break direction
- Combine both reads for complete picture
Green Speed Adjustment
- Fast greens: Trust subtler plumb bob reads
- Slow greens: Expect more break than the plumb bob indicates
- Grain effects: Factor in grass direction for final read
Weather Considerations
- Wet greens: Less break than plumb bob suggests
- Windy conditions: Stand with wider stance for stability
- Different lighting: May affect perception - trust the physics
Building Confidence in the Method
Practice Routine
- Start each practice session with 5 plumb bob reads
- Compare your reads with actual putt results
- Note patterns in your reading accuracy
- Adjust technique based on results
Course Integration
- Use plumb bobbing on practice greens before your round
- Start with obvious break putts to build confidence
- Gradually apply to more challenging reads during play
Why Plumb Bobbing Endures
Despite modern technology and new green reading methods, plumb bobbing remains valuable because:
Universal Accessibility
- No special training required
- No additional equipment needed
- Works on any course anywhere in the world
- Costs nothing to implement
Reliable Physics
- Based on gravity - a constant force
- Simple vertical reference that's always accurate
- Immediate feedback you can verify with practice putts
Practical Benefits
- Quick reads that don't slow play
- Builds green reading skills through practice
- Provides confidence in your putting decisions
- Works as backup when other methods aren't available
Key Takeaways
- Determine eye dominance first - this is crucial for accurate reads
- Let gravity do the work - don't influence the putter position
- Practice on obvious slopes before trying subtle breaks
- Understand the limitations - works best on single-slope putts
- Use proper foot positioning parallel to the slope
- Combine with feel and observation for complete reads
- Build confidence through practice - the method works when properly applied
Final Thoughts: Trust the Physics
Plumb bobbing works because it's based on fundamental physics that never change. While green reading technology continues to evolve, having a reliable, equipment-free method in your arsenal makes you a more confident and capable putter.
The key to success with plumb bobbing is consistent practice and proper technique. Start with obvious slopes, master the fundamentals, and gradually work toward reading subtler breaks. When executed correctly, this old-school method can transform your green reading and significantly improve your putting performance.
Remember: even if you prefer modern green reading techniques, plumb bobbing serves as an excellent backup method and helps develop your overall green reading skills through enhanced slope awareness.